
What a Declarations Page Actually Is
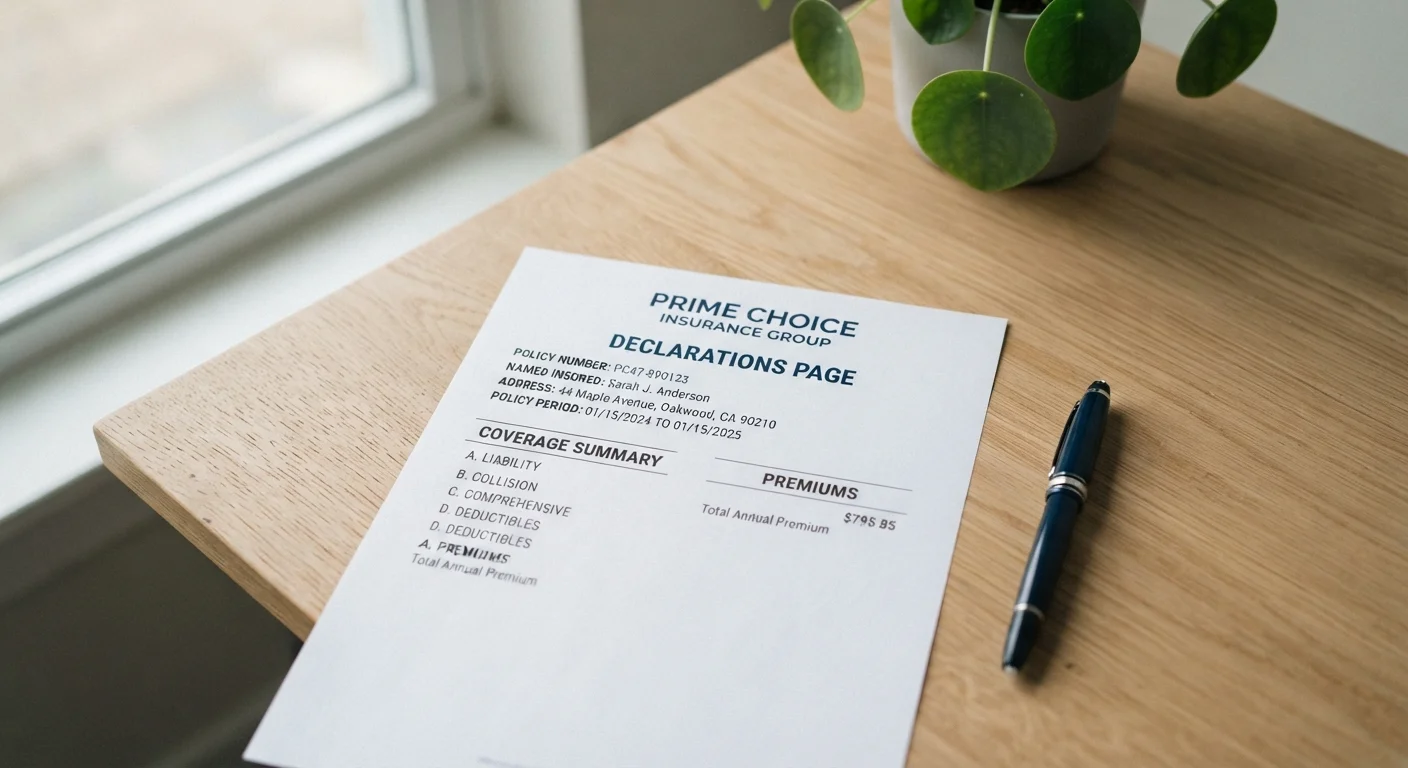
When your insurance policy arrives — whether by mail or email — the first page or two is called the declarations page, often abbreviated as the "dec page." Think of it as a cover sheet: it summarizes the key terms of your policy so you can check your coverage at a glance without reading through dozens of pages of fine print.
The declarations page is not the full policy. It doesn't list every exclusion or condition. Those live in the main policy document. But what the dec page does contain is arguably what matters most day-to-day: who is covered, what is covered, for how much, and for how long.
If you're newer to navigating policy documents, the guide to reading an insurance policy for the first time walks through how the dec page fits into the broader policy structure. And if specific terms trip you up, insurance terminology every policyholder should recognize offers plain-language definitions you can reference anytime.
What you will need
The Key Sections and What They Mean
Most declarations pages follow a similar layout regardless of the policy type — home, auto, renters, or life. Once you know what each section represents, the page becomes much easier to scan.
Locate the Named Insured and Policy Number
At the very top of the declarations page, you'll find the named insured — the person (or entity) the policy is issued to — along with a mailing address and a unique policy number. Make sure your name is spelled correctly and the address is current. An error here can cause delays if you ever need to file a claim.
Check the Policy Period
The policy period states the exact start and end dates of your coverage — for example, "06/01/2024 to 06/01/2025." Losses that occur outside this window generally won't be covered. Note the expiration date and set a calendar reminder a few weeks before it arrives so you have time to renew or shop for alternatives without a lapse in coverage.
Review the Coverage Types Listed
This is the heart of the declarations page. Each coverage type your policy includes will appear as a separate line item. On an auto policy, you might see liability, collision, comprehensive, and uninsured motorist. On a homeowners policy, you'll typically see dwelling, personal property, liability, and loss of use. Confirm that all the coverages you expected to have are actually listed.
Understand Your Coverage Limits
Next to each coverage type, you'll see a coverage limit — the maximum dollar amount your insurer will pay for a covered loss. Limits may appear as a single number (e.g., $300,000 for dwelling coverage) or as split numbers for liability (e.g., $100,000/$300,000, meaning $100,000 per person up to $300,000 per incident). Losses that exceed your limits come out of your own pocket, so review these numbers carefully against your actual assets and risks.
Identify Your Deductible
The deductible is the amount you pay out of pocket before your insurance kicks in on a claim. It appears for each applicable coverage. A $1,000 deductible on collision means if repairs cost $3,500, you pay the first $1,000 and the insurer covers $2,500. Higher deductibles usually mean lower premiums — and vice versa. Make sure the deductible shown matches what you agreed to when you bought the policy.
Note the Premium and Payment Schedule
The declarations page lists your premium — the total cost of the policy — and may show whether it's billed annually, semi-annually, or monthly. Confirm the amount matches what you were quoted and what's being charged to your account. Discounts (like multi-policy or good driver) may appear here as line items reducing the base premium.
Look for Endorsements or Riders
Endorsements (also called riders) are add-ons that modify the standard policy — expanding coverage in some areas, restricting it in others. They'll often be listed by name or form number near the bottom of the declarations page. Common examples include scheduled personal property riders (covering jewelry or electronics above standard limits) or a home business endorsement. If you see an endorsement number you don't recognize, ask your insurer what it does.
For a deeper look at how your dec page relates to the claims process, see the Claims & Costs hub.
Compare Your Dec Page to Last Year's
When your renewal arrives, place it side by side with the prior year's declarations page. Look for any changes in limits, deductibles, or listed coverages. Insurers can adjust terms at renewal, and a quick comparison is the fastest way to catch anything unexpected.
Auto policies have some additional line items worth knowing. Our auto insurance coverage glossary defines every term you're likely to see on a car insurance dec page specifically.
This article is for general informational purposes only and does not constitute insurance, legal, or financial advice. Coverage terms, limits, and exclusions vary by insurer and state. Always read your actual policy documents and consult a licensed insurance agent or adviser for guidance specific to your situation.