
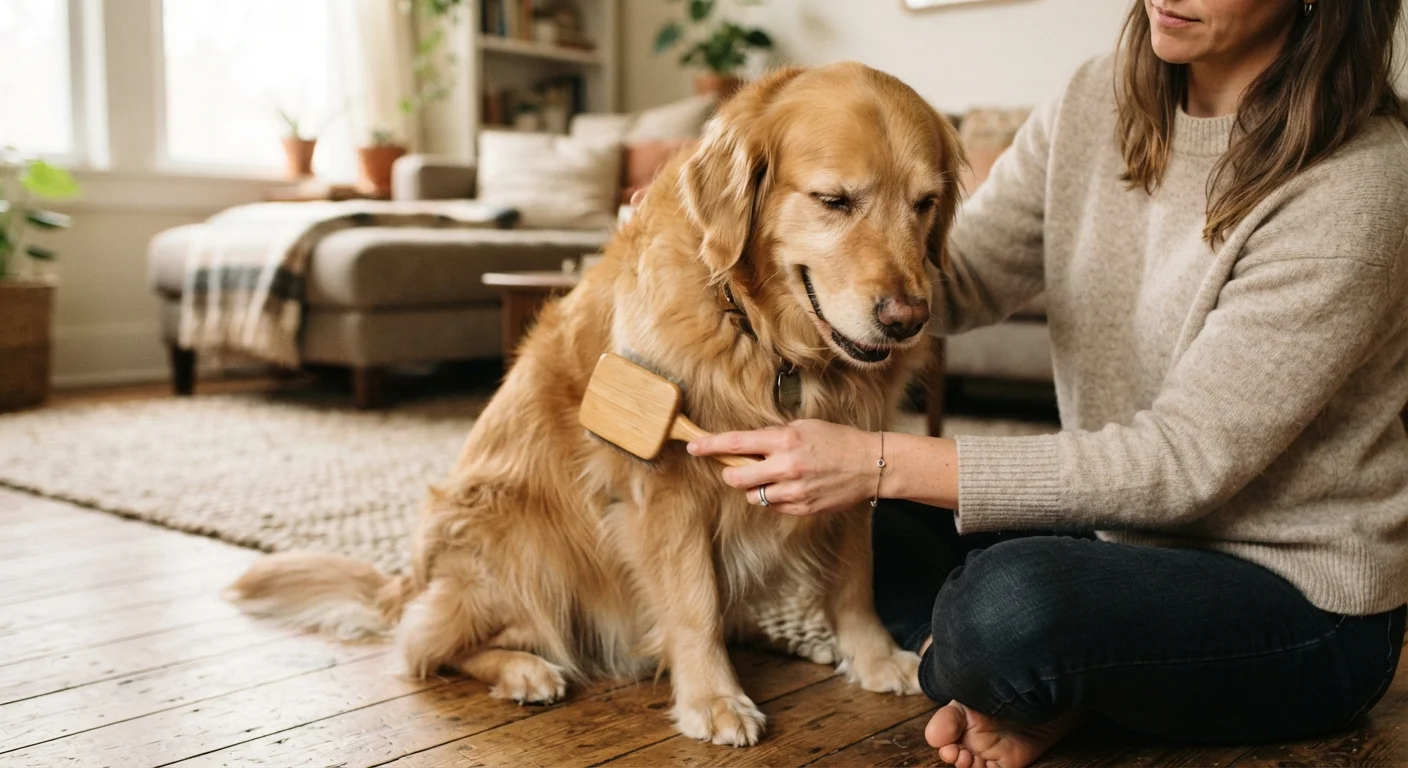
Why Home Grooming Matters Beyond Appearances
Regular grooming isn't just about keeping your pet looking tidy — it's one of the most practical ways to monitor their health between vet visits. Running a brush through your dog's coat or cleaning your cat's ears gives you regular, hands-on contact that makes it easier to catch lumps, skin irritation, ear redness, or nail overgrowth early. Many conditions are easier and less expensive to address when caught at this stage.
Home grooming also builds trust. Pets who are handled regularly from a calm, confident owner tend to be less reactive at veterinary appointments and adapt more readily to changes in their routine. If you've already worked on building a consistent daily routine with your pet, grooming integrates naturally as a predictable, low-stress event rather than a sudden disruption.
Understanding how your pet experiences stress is also useful context here. Check out our guide on how pets communicate stress through behavior if you're unsure whether your pet's reactions during grooming are normal nervousness or something more significant.
What you will need
How to Groom Your Pet Step by Step
The steps below apply broadly to dogs and cats. Some specifics — like coat type, ear shape, or nail color — will vary by breed, so use these as a framework and adapt to your individual pet. Always gather your tools before your pet enters the space.
Slicker brush or grooming comb
Removes loose fur, detangles, and distributes natural oils through the coat.
Pet nail clippers
Trims nail tips safely to prevent overgrowth, splitting, and discomfort.
Styptic powder
Stops minor bleeding quickly if you accidentally clip the quick of the nail.
Vet-approved ear-cleaning solution
Loosens wax and debris inside the ear canal without damaging delicate tissue.
Cotton balls
Used to gently wipe the outer ear after applying cleaning solution.
Non-slip mat
Keeps your pet stable and reduces anxiety caused by slipping on hard surfaces.
High-value treats
Reward calm behavior during and after each grooming task to build positive associations.
Set the environment before your pet enters the room
Choose a quiet room away from loud TVs, other pets, or foot traffic. Lay down a non-slip mat on a table or the floor depending on your pet's size and your comfort level. Have all your tools within reach so you never have to leave mid-session. The calmer and more predictable the space, the easier it is for your pet to settle.
Desensitize your pet to grooming tools before using them
Before the first real grooming session, let your pet sniff and inspect each tool while you offer treats. Touch them lightly with the brush or closed clippers without actually grooming. Repeat this over several days until your pet ignores the tools entirely. This step is especially critical for nail clippers, which many pets find alarming.
Brush the coat in short, gentle strokes
Begin brushing at the neck and work toward the tail, always moving in the direction of hair growth. Use short, light strokes rather than long forceful pulls. Pay special attention to areas prone to matting: behind the ears, under the legs, and around the collar. If you encounter a tangle, hold the base of the fur close to the skin with your fingers to prevent tugging the skin as you work through it.
Trim nails one at a time, clipping only the tip
Hold your pet's paw gently but firmly. Identify the quick — the pink blood vessel visible inside light-colored nails. On dark nails, clip tiny amounts at a time and look for a small dark dot at the center of the cut surface, which indicates you're nearing the quick. Clip only the curved tip of the nail at a 45-degree angle. Reward after every single nail, not just at the end.
Clean ears gently with solution and cotton
Lift the ear flap and apply a small amount of vet-approved ear-cleaning solution into the ear canal. Gently massage the base of the ear for about 20–30 seconds — you'll hear a squishing sound as the solution loosens debris. Allow your pet to shake their head, then wipe away visible dirt and excess solution from the outer ear using a cotton ball. Never insert cotton swabs deep into the ear canal.
End every session on a positive note
Finish with a treat, calm praise, and a brief petting session your pet enjoys. Even if the session was short or imperfect, ending positively is what your pet will remember most. Keep a grooming log if it helps — note what went well, what caused stress, and which tools your pet responded to best. Over time, you'll build a routine that works for your specific animal.
Start Young — But It's Never Too Late
Puppies and kittens introduced to grooming early tend to accept it more readily as adults. That said, older pets can absolutely learn to tolerate — and even enjoy — grooming sessions with patient, consistent desensitization. Just expect progress to be slower and celebrate small wins along the way.
Never Use Human Grooming Products on Pets
Human shampoos, ear drops, and nail products are formulated for human skin pH and can irritate or harm your pet's skin, ears, or nails. Always use products specifically labeled as safe for pets, and when in doubt, ask your veterinarian for recommendations before introducing anything new.
If you notice persistent scratching, head-shaking, or skin changes during grooming sessions, it's worth reading about how allergies can cause itching and ear issues in pets — what looks like a grooming problem is sometimes an underlying health issue.
Know When to Stop and Seek Help
If your pet growls, bites, or shows extreme fear during grooming, do not force the session. Forced restraint can make the anxiety significantly worse and create lasting negative associations. A veterinarian or certified professional groomer can help identify whether anxiety, pain, or a behavioral issue is the underlying cause. Some pets also benefit from a vet consultation before grooming if they have skin conditions or ear infections — grooming an already-irritated area can cause harm.
This article is for general informational and educational purposes only. It is not a substitute for professional veterinary advice. Always consult a licensed veterinarian regarding your pet's specific health needs or if you have concerns about any symptoms you observe during home grooming.