
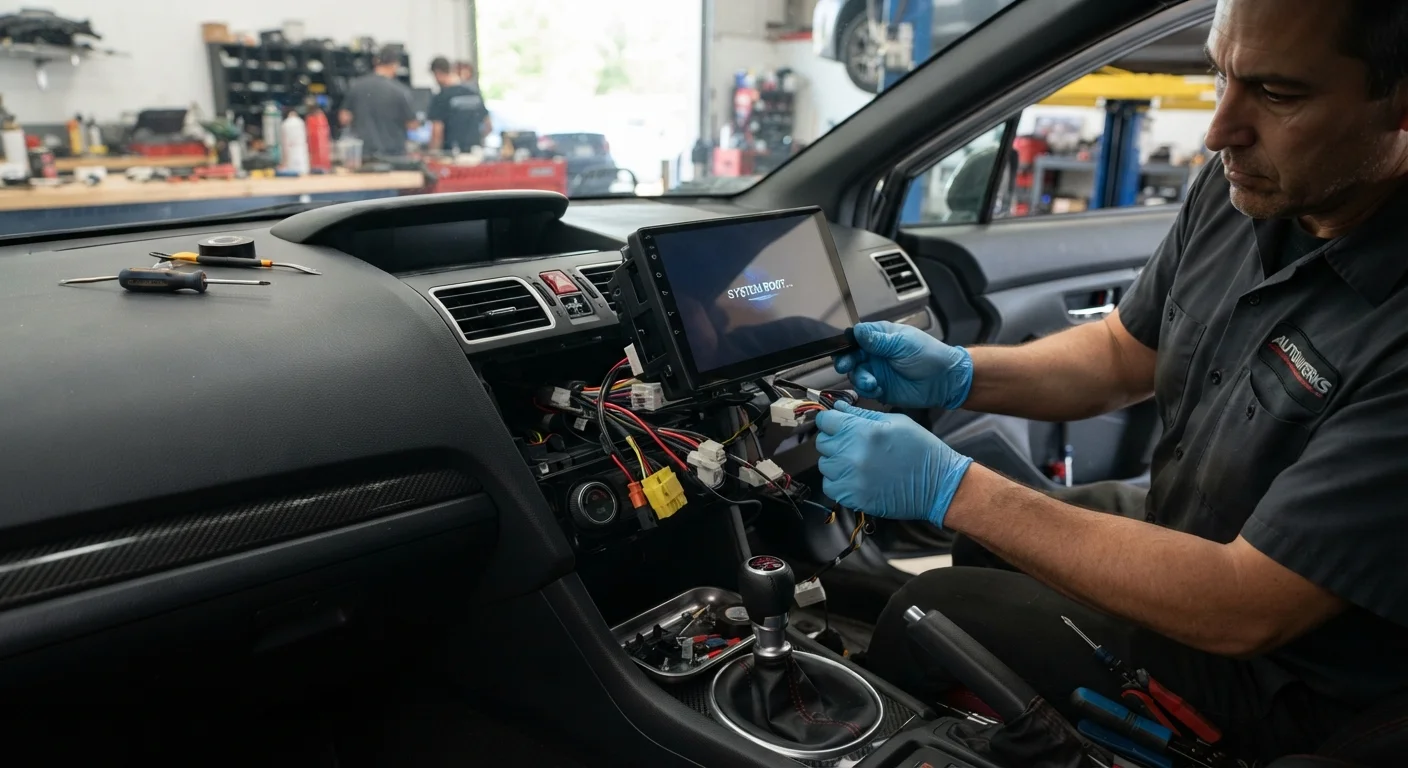
Why This Checklist Matters Before You Buy
Swapping out a factory infotainment screen sounds straightforward - pull the old unit, drop in a shiny new one. In practice, modern vehicles are far more integrated than that. A single head unit can be tied to your climate controls, steering wheel buttons, reverse camera, TPMS readout, and even your vehicle's CAN bus (the internal network that lets components communicate). Get the compatibility wrong and you could lose features you rely on daily, or create electrical gremlins that are expensive to diagnose.
This checklist helps you slow down before you spend money. It's aimed at anyone considering an aftermarket screen - whether you're planning a DIY install or handing the job to a shop. Think of it as a pre-purchase and pre-installation audit. For context on how rushed electronics setup leads to avoidable problems, see common electronics setup mistakes.
Modifying Your Electrical System Carries Risk
Incorrect wiring can damage your vehicle's electrical system, trigger fault codes, or disable safety systems including airbags. Always disconnect the negative battery terminal before beginning work and consult a professional installer if you encounter wiring configurations you don't recognize. This checklist is informational - it does not substitute for hands-on expertise.
What You'll Need Before Starting
Gather the following before working through the checklist items. Having this information on hand will make every step faster and more accurate.
Vehicle Owner's Manual
Confirms factory head unit type, wiring information, and whether the unit is integrated with other vehicle systems.
Dash Tape Measure or Calipers
Accurately measures your existing dash opening to confirm single-DIN or double-DIN fitment.
Wiring Harness Adapter
Connects the new head unit's wiring to your vehicle's factory connector without cutting original wires.
Steering Wheel Control Adapter Module
Retains factory steering wheel audio controls by translating signals to the new head unit.
Dash Kit (Vehicle-Specific Mounting Kit)
Fills the gap between the new unit's face and your vehicle's dash opening for a clean, secure fit.
Antenna Adapter
Bridges the gap between the vehicle's existing antenna connector and the new unit's input if they differ.
Panel Removal Tools (Trim Pry Kit)
Allows you to remove dash trim panels without scratching or cracking the plastic.
The Full Pre-Installation Checklist
Work through each group in order. Items marked must are non-negotiable - skipping them risks a failed installation or permanent loss of vehicle features. Should items are strongly recommended, and nice-to-have items improve the end result but aren't deal-breakers.
Compatibility & Fitment
Factory Feature Retention
Feature & Connectivity Verification
Installation Planning
Don't Cut Your Factory Wiring Harness
Splicing directly into your vehicle's original wiring harness may save a few dollars upfront but can create serious problems later - including difficult-to-trace shorts, failed inspections, and reduced resale value. Always use a plug-and-play adapter harness specific to your vehicle so the factory wiring remains intact and reversible.
If your vehicle uses an integrated or partially integrated factory system - common in many vehicles from the last decade - consider having a professional installer assess compatibility before you purchase anything. Shops that specialize in car audio and electronics can often pull up compatibility databases and have hands-on experience with vehicle-specific quirks. For related considerations on in-car technology security, see practical habits for connected vehicles.
If you're also exploring other display upgrades for your dash area, our guide to head-up displays in cars covers how projected data systems work and what affects readability in real driving conditions.